English


FAQ
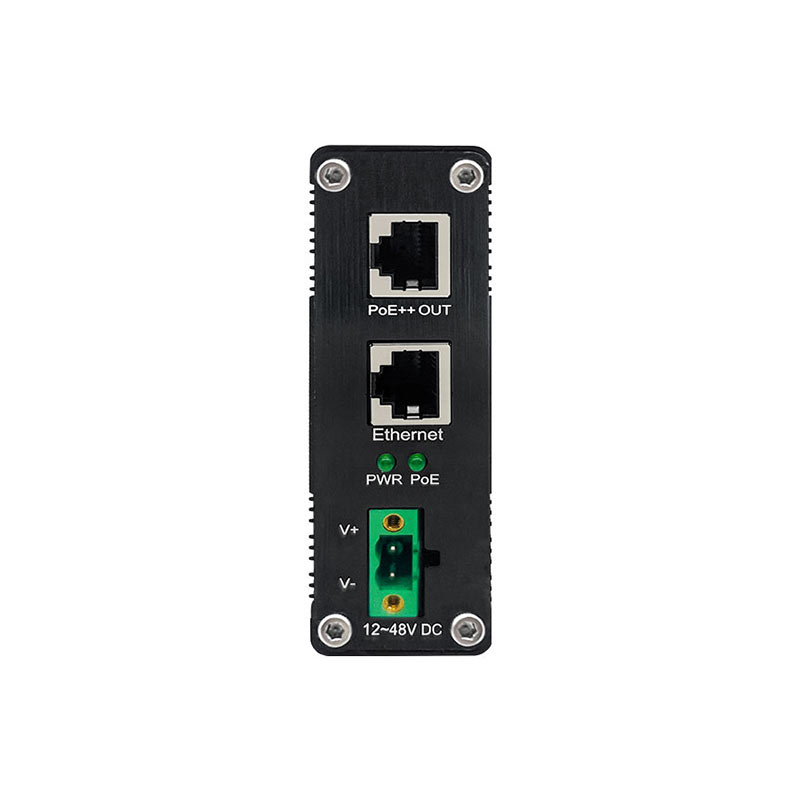
Power over Ethernet (PoE) is a technology that enables Ethernet cables to transmit both data and electrical power to devices. This eliminates the need for separate power cables, simplifying installation and reducing costs. PoE is commonly used to power devices like IP cameras, wireless access points, VoIP phones, and other network devices. There are different PoE standards, such as IEEE 802.3af, 802.3at (PoE+), and 802.3bt (PoE++), which define the amount of power that can be delivered to connected devices, ranging from 15.4W to 90W.
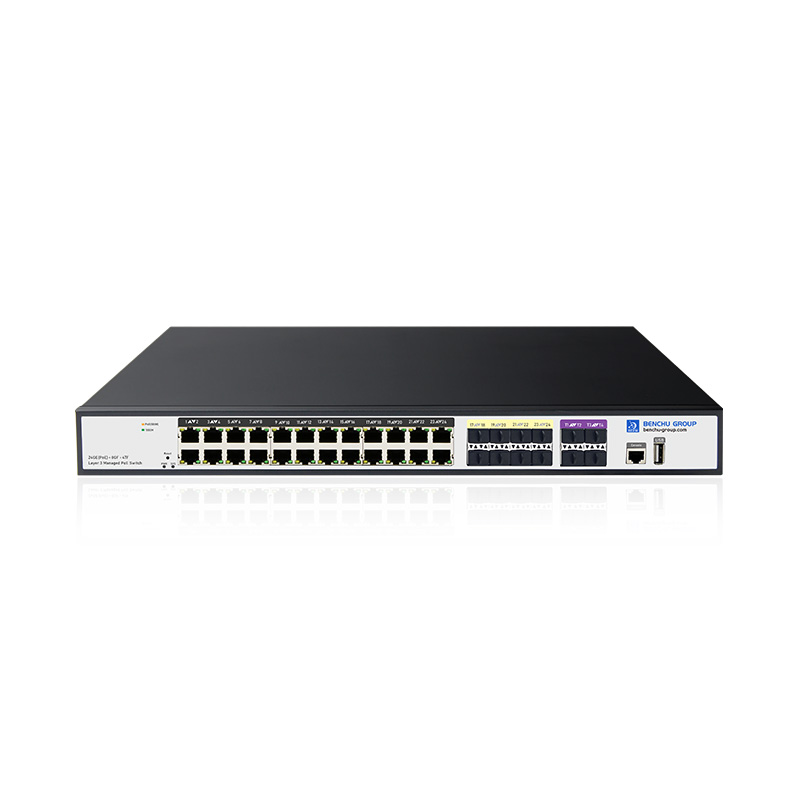
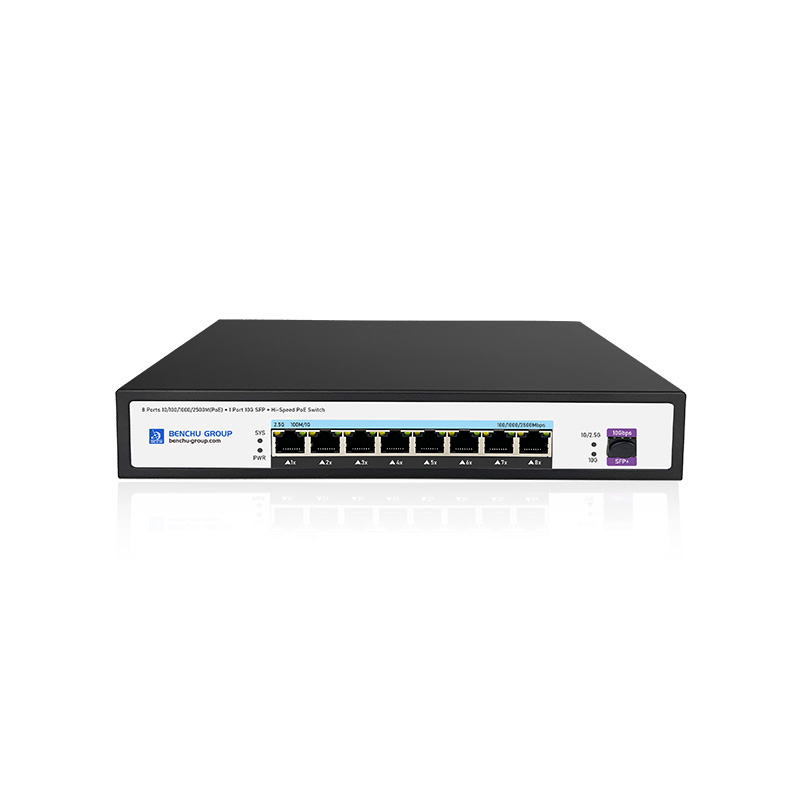
PoE switch is a network switch that provides Power over Ethernet (PoE) functionality, allowing both data and electrical power to be transmitted over a single Ethernet cable. This eliminates the need for separate power supplies for connected devices like IP cameras, wireless access points, VoIP phones, and other powered devices (PDs). PoE switches come in various types, including unmanaged, managed, and industrial-grade models, and they adhere to different PoE standards such as 802.3af (PoE), 802.3at (PoE+), and 802.3bt (PoE++), offering power outputs up to 90W.
Latency varies but is typically optimized for low-latency environments.
Yes, modular switches and stacking capabilities enable large-scale deployments.
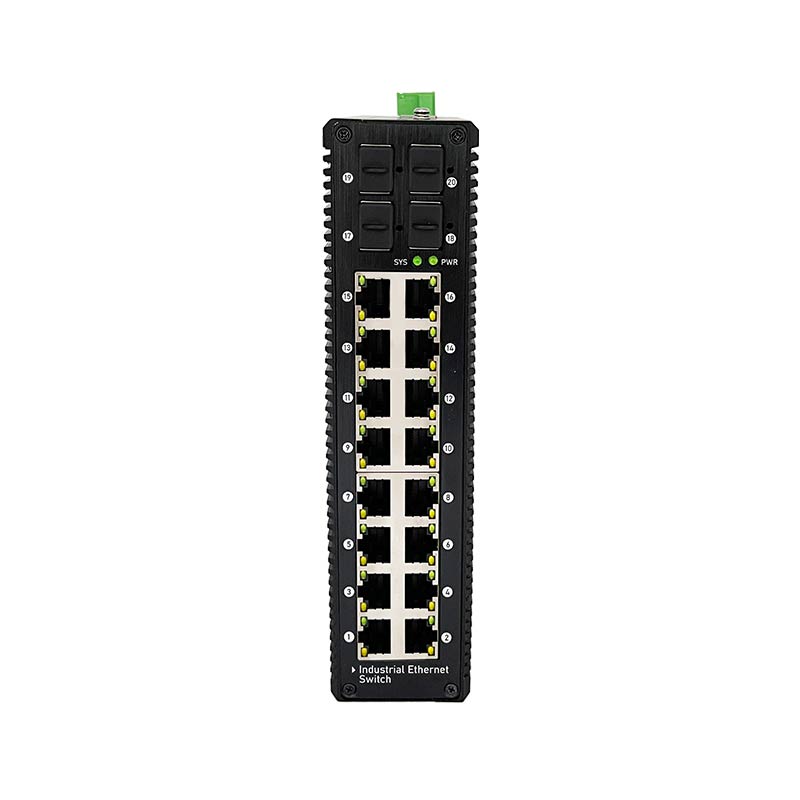
Industrial models comply with IP65/IP67 standards for dust and water resistance.
Yes, they are suitable for railways, highways, and metro systems.
Features like vibration resistance, extended temperature ranges, and real-time communication protocols.
Yes, with fiber optic uplinks and wide-area coverage options.
Industrial-grade switches can handle the environmental conditions of marine setups.
Yes, bulk orders are eligible for discounts; contact sales for more details.
Returns are accepted as per their return policy; contact customer support for guidance.
Submit a warranty claim through the BENCHU GROUP support page with proof of purchase.
 E-Mail Us
 Call Us
 Address
5F, Block5, GuangmingGu Industrial Park, Matian Villiage, Guangming Disitrict, Shenzhen, China


 IPv6 network supported