English


FAQ
Yes, product demonstrations can be arranged for business customers.
Yes, their products are shipped worldwide, with varying delivery times.
Yes, they work seamlessly with Wi-Fi 6 access points and other devices.
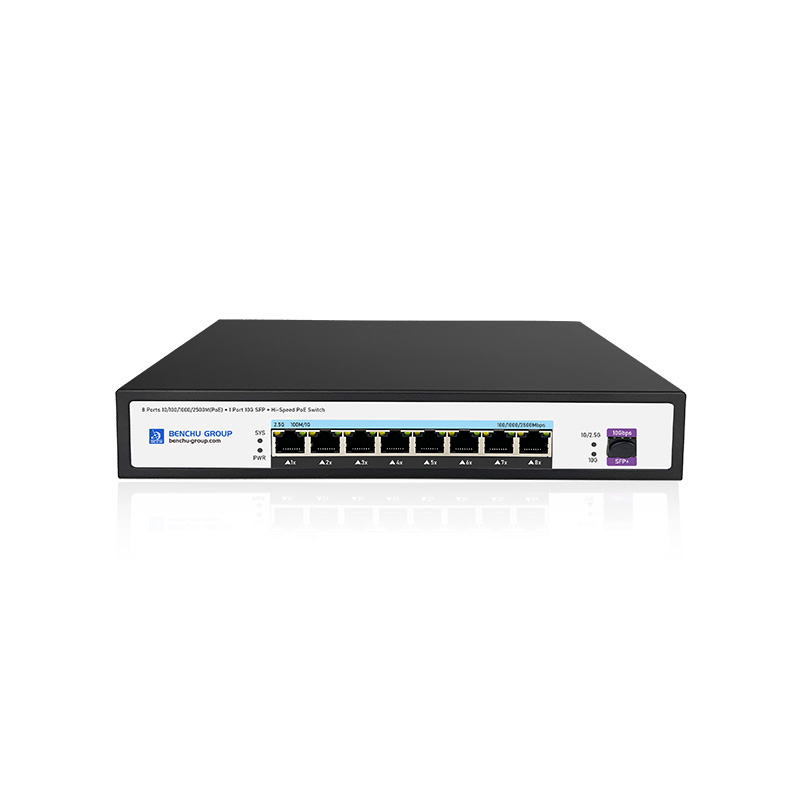
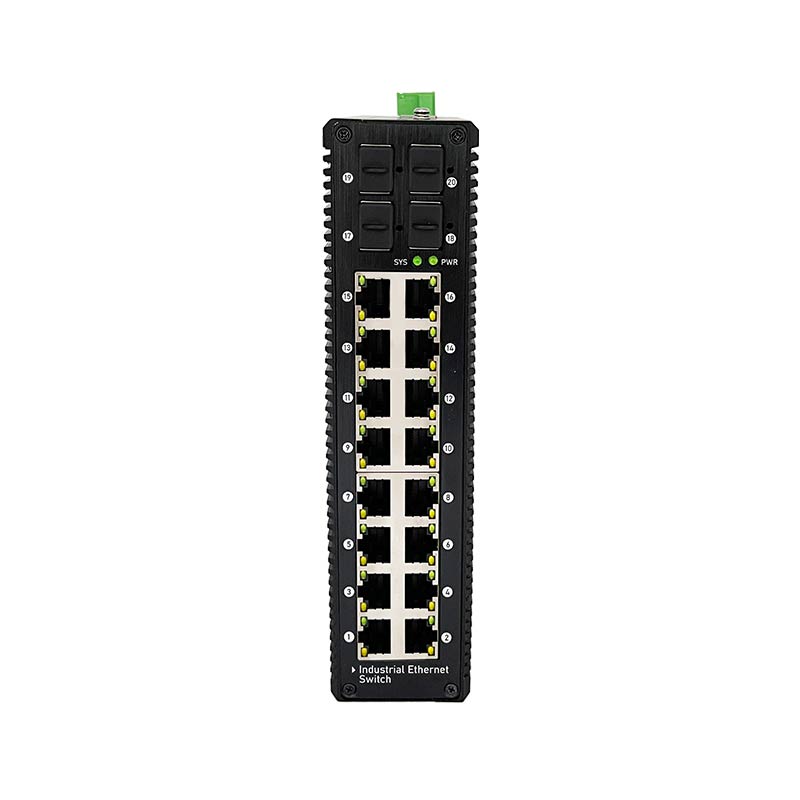
Industrial-grade switches with low-latency processing are available for edge applications.
Managed switches can support AI-driven network analytics tools.
High-speed switches with low latency are ideal for VR/AR setups.
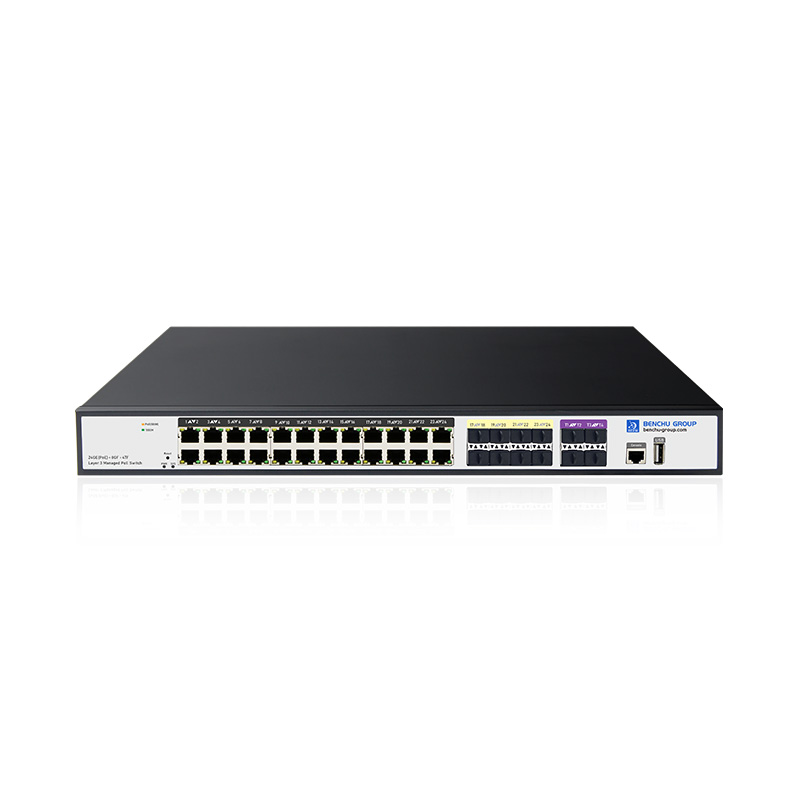
BENCHU GROUP focuses on advanced PoE standards, energy efficiency, and automation-ready solutions.
This varies by model; industrial switches often have an MTBF exceeding 100,000 hours.
Yes, remote management is available through web interfaces, CLI, or SNMP.
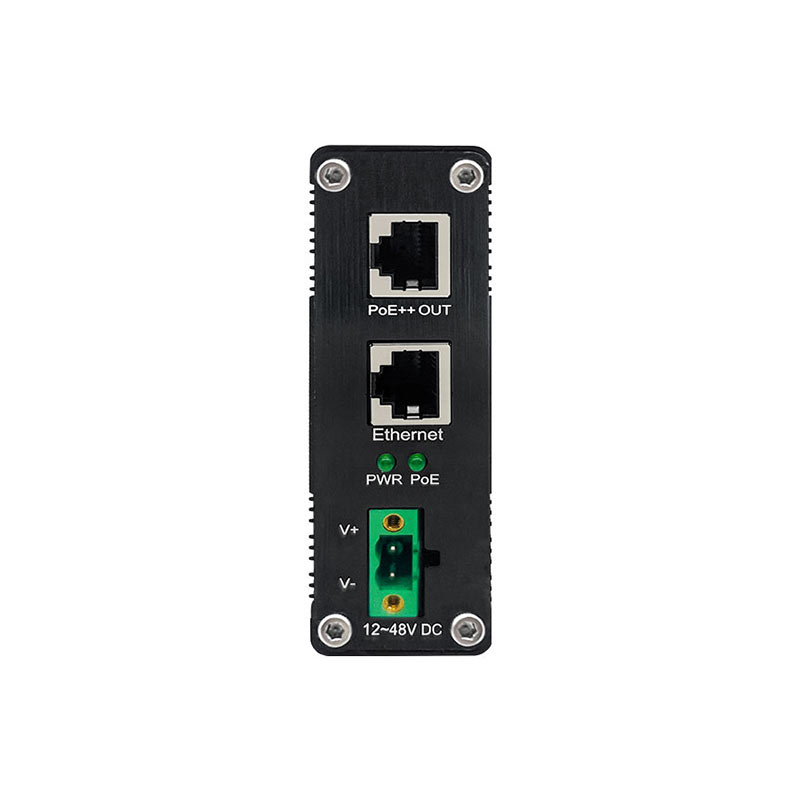
The answer is YES. But, The premise is that POE switches must comply with the IEEE802.3af, IEEE802.3at, or IEE802.3bt protocol standards.
POE switches that support IEEE802.3af/at will undergo a testing process before power supply
When the POE switch starts working, it outputs a very small voltage at the port until it detects that the cable terminal is connected to a power receiving device PD that supports the IEEE802.3af/IEEE802.3at/IEEE802.3bt standard (a new standard based on Power over Ethernet POE). Afterwards, POE switches may classify PD devices and evaluate the power loss required by PD devices. Then, the POE switch starts supplying power to the PD devices from low voltage until it provides 48V DC power. If the PD device is disconnected from the network, the POE switch will quickly stop supplying power to it and repeat the detection process to check whether the cable terminal is connected to the PD device.
Therefore, PoE switches can be used as regular switches without harming non PoE device

Many industrial switches offer dual power inputs for redundancy.

Layer 2 switch: Layer 2 switches work in the second layer (data link layer) of the OSI model, identifying MAC address information in data packets, forwarding them based on MAC addresses, and recording these MAC addresses and corresponding ports in an internal address table. Therefore, layer 2 switches require strong data recognition and forwarding capabilities.
The second layer switch relies on information in the link layer (such as MAC addresses) to complete line speed exchange between data from different ports. Its main functions include physical addressing, error checking, frame sequencing, and data flow control. Desktop switches generally do not have a high level of work complexity and are located at the bottom of the network, so they only need to provide the most basic data link functions. In addition, some enterprise level layer 2 switches can implement VLAN, DHCP relay, QoS and port security, port mirroring, and other functions.
When a switch receives a packet from a certain port, it first reads the source MAC address in the packet header, so that it knows which port the machine with the source MAC address is connected to; Read the destination MAC address from the packet header and search for the corresponding port in the address table; Copy the data packet directly to the port corresponding to the destination MAC address in the table; If the corresponding port cannot be found in the table, the packet will be broadcasted to all ports. When the destination machine responds to the source machine, the switch can learn which port the destination MAC address corresponds to, and no longer need to broadcast to all ports when transmitting data next time.
Layer 3 switch: Layer 3 switch is essentially a special type of router that focuses on switching in performance and is inexpensive. Traditional switching technology operates at the second layer of the OSI network standard model - the data link layer, while layer 3 switches are designed for IP, with simple interface types and strong layer 2 packet processing capabilities. They can work at the third layer of the protocol to replace or partially complete the functions of traditional routers, while also having almost the speed of layer 2 switching and relatively cheap prices.
Working principle of layer 2 switch: When the switch receives a data packet from a certain port, it first reads the source MAC address in the packet header, so that it knows which port the machine with the source MAC address is connected to; Read the destination MAC address from the packet header and search for the corresponding port in the address table; Copy the data packet directly to the port corresponding to the destination MAC address in the table; If the corresponding port cannot be found in the table, the packet will be broadcasted to all ports. When the destination machine responds to the source machine, the switch can learn which port the destination MAC address corresponds to, and no longer need to broadcast to all ports when transmitting data next time.
Working principle of layer 3 switch: Generally speaking, large local area networks are divided into smaller ones based on functional or geographical factors. Usually, LANs are connected through routers, which enables VLAN (Virtual Local Area Network) technology to be widely used in networks. However, the routing capability of traditional ordinary routers is too weak. Simply using routers to achieve inter network access has a limited number of ports and slow routing speed, which limits the size and access speed of the network. If gigabit or 100Mbps ports on a layer 3 switch are used to connect different subnets or VLANs, it economically solves the problem of relying on routers for communication between subnets after subnet partitioning while maintaining performance.
The difference between layer 3 switches and layer 2 switches is that layer 3 switches work at the third layer (network layer) of the OSI model, while layer 2 switches work at the second layer (data link layer) of the OSI model.
Layer 2 switches can recognize the MAC address information in data packets, forward them based on the MAC address, and record these MAC addresses and corresponding ports in an internal address table. Layer 3 switching technology is the addition of layer 3 forwarding technology to layer 2 switching technology to achieve high-speed packet forwarding and accelerate data exchange within large local area networks.
A wants to send data to B. If the destination IP is known, A uses a subnet mask to obtain the network address and determines whether the destination IP is in the same network segment as itself. If they are in the same network segment but do not know the MAC address required to forward the data, A sends a request and B returns its MAC address. A uses this MAC to encapsulate the data packet and sends it to the switch. The switch uses a layer 2 switching module to look up the MAC address table and forward the data packet to the corresponding port.
If the destination IP address is not in the same network segment and there is no corresponding MAC address entry in the stream cache entry, the first normal packet will be sent to a default gateway corresponding to the third layer routing module. Then the three-layer module receives this packet, queries the routing table to determine the route to B, and the three-layer switch plays the role of routing and forwarding. When the corresponding relationship between the MAC addresses and forwarding ports of hosts A and B is subsequently established, the subsequent data from A to B is directly handed over to the layer 2 switching module for completion. This is commonly referred to as multiple forwards per route.
 E-Mail Us
 Call Us
 Address
5F, Block5, GuangmingGu Industrial Park, Matian Villiage, Guangming Disitrict, Shenzhen, China


 IPv6 network supported