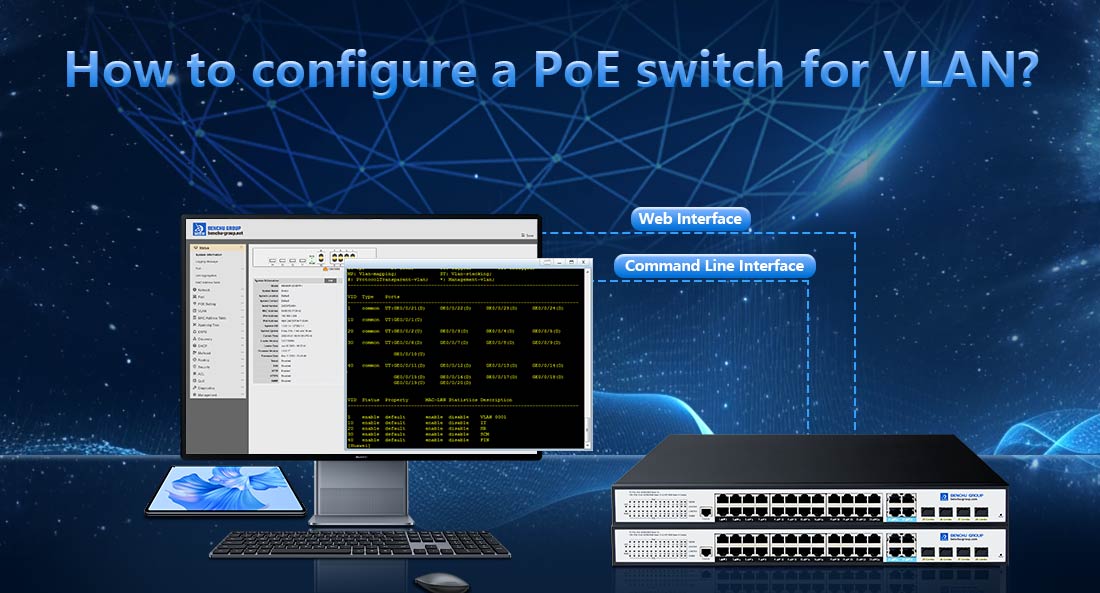
Configuring a PoE (Power over Ethernet) switch for VLANs (Virtual Local Area Networks) can improve network segmentation, security, and traffic management. Below are the general steps for configuring a PoE switch for VLANs:
1. Access the Switch's Management Interface
--- Connect your computer to the switch using an Ethernet cable.
--- Ensure the PoE switch is powered on.
Open a web browser and enter the switch’s IP address to access the management interface.
--- This IP address can typically be found in the switch's manual or on the device itself.
--- Log in with your username and password. Default credentials are often provided by the switch manufacturer.
2. Navigate to the VLAN Configuration Section
--- Once logged into the switch, find the VLAN configuration menu. This may vary depending on the brand of switch, but it is usually located under Network, VLAN, or Switching settings.
3. Create VLANs
In the VLAN configuration section, you can create new VLANs by assigning them unique VLAN IDs (VIDs).
--- VLAN ID: Typically a number between 1 and 4096.
--- VLAN Name: You can optionally assign a name for easier identification.
Example:
--- VLAN 10 (Sales)
--- VLAN 20 (IT)
--- VLAN 30 (Guest Network)
4. Assign Ports to VLANs
--- Determine which switch ports will be members of each VLAN.
Access Ports: These ports are assigned to a single VLAN. End devices (e.g., computers, printers) connected to these ports will only communicate within that VLAN.
Trunk Ports: These ports carry traffic for multiple VLANs. Use trunk ports to connect to other switches or routers that are VLAN-aware.
--- Assign each port to a VLAN by selecting the desired VLAN ID for that port.
5. Configure Trunk Ports (Optional)
--- If the switch is connected to other switches or routers, configure trunk ports to carry VLAN traffic across devices.
--- Set the trunk port to allow tagged VLAN traffic (i.e., allow multiple VLANs to pass through).
--- Typically, you'll configure a native VLAN for untagged traffic and specify which VLANs are allowed.
6. Enable PoE on the Ports (Optional)
--- Since the switch is PoE, ensure PoE functionality is enabled on the ports where necessary (for devices like IP cameras, VoIP phones, etc.).
--- This can be done under the PoE settings menu. You can configure PoE power per port or let the switch auto-detect.
7. Apply and Save Configuration
--- After making the necessary VLAN and port configurations, apply the changes.
--- Don’t forget to save the configuration to the switch’s memory to avoid losing it after a reboot.
8. Test the Configuration
--- Test your VLAN configuration by connecting devices to the switch and ensuring they can communicate only within their VLAN unless you have routing in place to allow cross-VLAN communication (Inter-VLAN routing).
Example Setup
--- Port 1–10: VLAN 10 (Sales)
--- Port 11–20: VLAN 20 (IT)
--- Port 21: Trunk Port (carrying VLAN 10, 20, and 30)
--- PoE enabled on ports 1–10 for IP phones or cameras.
Best Practices
--- Plan VLAN usage carefully to improve network performance and security.
--- Label ports or document VLAN settings for future reference.
--- Enable PoE sparingly, only on ports connected to devices requiring power.
Configuration steps might vary depending on the specific PoE switch brand (e.g., Cisco, Netgear, D-Link, TP-Link), so consult the switch's manual for precise instructions.