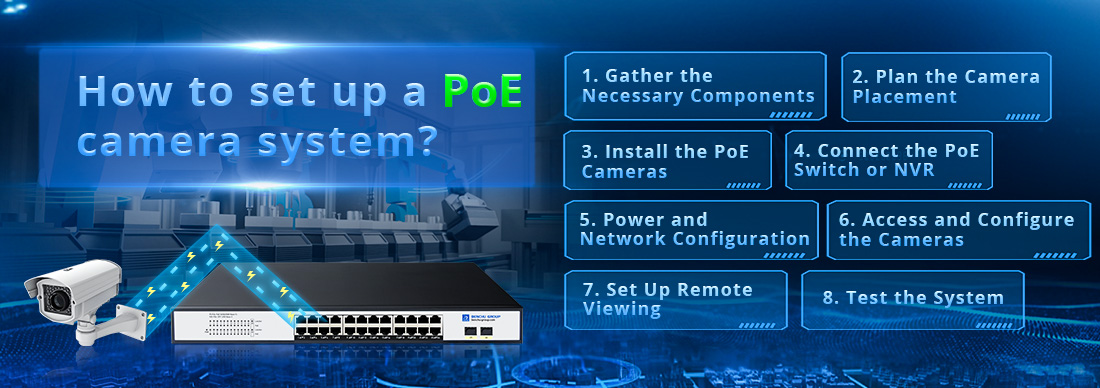
Setting up a PoE camera system is relatively straightforward and offers a clean, efficient way to power and connect security cameras using a single Ethernet cable for both data and power. Here’s a step-by-step guide to help you set up a PoE camera system:
1. Gather the Necessary Components
You’ll need the following equipment for setting up a PoE camera system:
--- PoE Cameras: Choose IP cameras that support Power over Ethernet (PoE).
--- PoE Switch or NVR (Network Video Recorder) with PoE Ports: This will provide both data and power to your cameras via Ethernet cables.
Ethernet Cables (Cat5e or Cat6): These cables will carry both power and data to the PoE cameras. Ensure the cables are long enough to reach each camera location.
Recording/Viewing Device: This could be an NVR, a computer running surveillance software, or a cloud-based system.
Router/Network Switch: If you’re using an NVR without built-in PoE, you’ll need a network switch to connect the cameras to your local network.
Mounting Tools: Tools for securely mounting the cameras in their desired locations.
2. Plan the Camera Placement
Identify Key Areas: Determine where to install the cameras to maximize coverage (e.g., entry points, hallways, parking lots).
Check Ethernet Cable Length: Ensure your PoE cameras are within 100 meters (328 feet) of the PoE switch or NVR, which is the maximum distance for Ethernet cable runs without signal degradation.
Consider Power Budget: Ensure that your PoE switch or NVR can provide enough power for all connected cameras. Cameras with more features (e.g., PTZ, infrared) might require more power.
3. Install the PoE Cameras
Mount the Cameras: Secure the cameras in the desired locations. Make sure they are positioned for optimal coverage.
Run the Ethernet Cables: Run Cat5e or Cat6 Ethernet cables from the camera locations to the PoE switch or NVR. Ensure the cables are protected from weather if installed outdoors and avoid placing them near high-interference electrical equipment.
Connect the Cables: Plug one end of the Ethernet cable into the camera and the other end into the PoE switch or NVR.
4. Connect the PoE Switch or NVR
PoE NVR:
--- If using a PoE NVR, simply connect the Ethernet cables from the cameras directly into the NVR’s PoE ports. The NVR will automatically provide power to the cameras and connect them to your network.
--- Connect the NVR to your router using another Ethernet cable to allow remote access and viewing.
PoE Switch:
--- If using a PoE switch, connect the cameras to the PoE switch using Ethernet cables. Then connect the switch to your network (router or non-PoE switch).
--- Connect the PoE switch to the NVR or a computer running surveillance software for recording and monitoring.
5. Power and Network Configuration
Power Up the System: Once everything is connected, turn on the PoE switch or NVR. The cameras should receive power through the Ethernet cables, and you should see them come online.
IP Address Configuration: Most PoE cameras will automatically be assigned IP addresses through DHCP by your router. If your cameras or system require static IP addresses, configure this in the camera’s web interface or the NVR’s settings.
6. Access and Configure the Cameras
Access the Cameras: Log into the NVR or surveillance software. You should see a list of connected cameras. You can also access individual cameras directly via their IP addresses using a web browser.
Configure Camera Settings: Set up the following parameters for each camera:
--- Resolution: Choose the resolution for recording and viewing.
--- Frame Rate: Adjust the frame rate based on your storage and bandwidth requirements.
--- Motion Detection: Enable and configure motion detection zones for each camera, which will trigger alerts or recordings when motion is detected.
--- Recording Schedule: Set recording schedules for continuous recording, motion-based recording, or custom times.
7. Set Up Remote Viewing
Mobile App/Cloud Setup: If you want to view the camera feeds remotely, install the camera manufacturer’s app or configure remote access through the NVR’s software. This typically requires port forwarding on your router or using cloud services provided by the camera or NVR brand.
Configure Alerts: Many NVR systems or cameras allow for email or app notifications when motion is detected. Set this up to receive real-time alerts.
8. Test the System
Test Camera Views: Check each camera’s field of view and make any necessary adjustments to the angles or positioning.
Check Network Performance: Ensure that the cameras are transmitting data smoothly and that the PoE switch or NVR is providing sufficient power and bandwidth.
Verify Recording and Alerts: Test the recording schedule, motion detection, and alerts to ensure everything is functioning as expected.
Optional: UPS (Uninterruptible Power Supply)
--- For added reliability, consider connecting the PoE switch or NVR to a UPS to ensure the system remains operational during power outages.
Summary of Steps:
1.Gather necessary components (PoE cameras, switch/NVR, Ethernet cables, etc.).
2.Plan camera placement and ensure Ethernet cable distances are within 100 meters.
3.Mount the cameras and run Ethernet cables.
4.Connect the PoE switch or NVR to the cameras and the network.
5.Power up the system and configure the cameras (IP settings, resolution, motion detection).
6.Set up remote access and alerts.
7.Test the system for coverage, recording, and alerts.
By following these steps, you’ll have a functional and efficient PoE camera system for monitoring and security, with both data and power delivered via Ethernet cables.