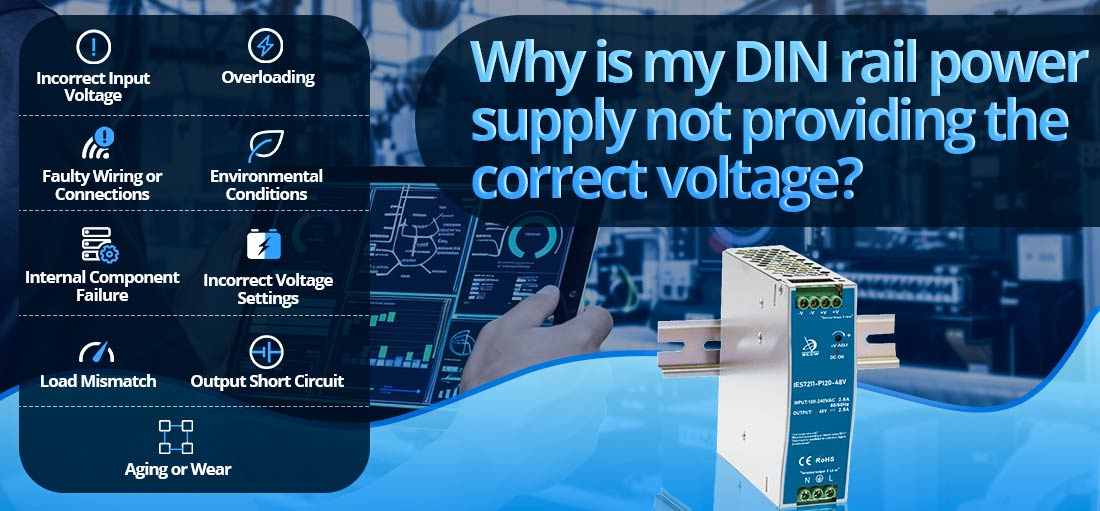
If your DIN rail power supply is not providing the correct voltage, it can be caused by several factors related to the power supply itself, the connected load, or the operating environment. Below is a detailed explanation of possible causes, diagnostic steps, and solutions.
1. Potential Causes
1.1. Incorrect Input Voltage
--- Cause: The power supply may not be receiving the proper input voltage (AC or DC) required for operation.
--- Effect: An insufficient or unstable input can prevent the power supply from generating the correct output voltage.
1.2. Overloading
--- Cause: The connected load exceeds the power supply's capacity, causing it to reduce output voltage as a protective measure.
--- Effect: The power supply struggles to maintain the specified voltage.
1.3. Faulty Wiring or Connections
--- Cause: Loose, corroded, or improperly connected wires may disrupt the voltage delivery.
--- Effect: Voltage drops or irregularities at the output terminals.
1.4. Environmental Conditions
--- Cause: Extreme temperatures, high humidity, or electrical noise in the environment can interfere with the power supply's operation.
--- Effect: Components inside the power supply may not function optimally, resulting in voltage instability.
1.5. Internal Component Failure
--- Cause: Faulty components such as capacitors, transformers, or semiconductors can prevent the power supply from regulating voltage correctly.
--- Effect: Output voltage may be lower, higher, or fluctuate.
1.6. Incorrect Voltage Settings
--- Cause: Some power supplies allow manual adjustment of output voltage using a potentiometer. If the setting is incorrect, the voltage may not match expectations.
--- Effect: Output voltage does not align with the required level.
1.7. Load Mismatch
--- Cause: The load may have specific requirements, such as constant current instead of constant voltage, which the power supply cannot meet.
--- Effect: Improper functioning of the load and inaccurate voltage readings.
1.8. Output Short Circuit
--- Cause: A short circuit in the connected load or wiring causes the power supply to enter protection mode.
--- Effect: Voltage output is reduced or shut down entirely.
1.9. Aging or Wear
--- Cause: Over time, components degrade, reducing the power supply's ability to maintain stable voltage.
--- Effect: Voltage output becomes unreliable.
2. Diagnostic Steps
2.1. Check Input Voltage
--- Use a multimeter to measure the input voltage to ensure it meets the power supply's specifications.
--- Verify that the input source (e.g., mains electricity or upstream DC power) is stable.
2.2. Measure Output Voltage
--- Disconnect the load and measure the output voltage directly at the power supply terminals.
--- If the voltage is correct without the load, the issue may be with the load or wiring.
--- If the voltage is still incorrect, the problem lies within the power supply.
2.3. Inspect Wiring and Connections
--- Check all input and output wiring for loose connections, corrosion, or damage.
--- Ensure that wires are properly rated for the current requirements.
2.4. Assess the Load
--- Verify that the total power draw of the connected devices is within the power supply's capacity.
--- Disconnect individual devices to identify any faulty or excessive load.
2.5. Check Environmental Conditions
--- Ensure the power supply is operating within its specified temperature and humidity range.
--- Look for sources of electrical noise (e.g., nearby motors or inverters) that could interfere with operation.
2.6. Inspect Voltage Settings
--- For adjustable power supplies, confirm that the potentiometer is set correctly for the desired output voltage.
2.7. Test for Short Circuits
--- Inspect the output wiring and connected devices for potential short circuits using a multimeter.
2.8. Examine the Power Supply
--- Look for visible signs of damage, such as burnt components or swollen capacitors.
3. Solutions
3.1. Fix Input Voltage Issues
--- Ensure the input power source meets the required specifications.
--- Use a stabilizer or uninterruptible power supply (UPS) if the input voltage is unstable.
3.2. Reduce Load
--- Disconnect excessive loads to bring the total power demand within the power supply's capacity.
--- Upgrade to a higher-rated power supply if necessary.
3.3. Repair Wiring
--- Tighten loose connections and replace any damaged or undersized wires.
3.4. Improve Environmental Conditions
--- Relocate the power supply to a more controlled environment, if possible.
--- Use shielding or filters to reduce the impact of electrical noise.
3.5. Replace Faulty Components
--- If internal components are damaged, have the power supply repaired by a qualified technician or replace it entirely.
3.6. Correct Voltage Settings
--- Adjust the output voltage potentiometer to the correct level for your application.
3.7. Address Short Circuits
--- Repair or replace faulty devices or wiring that are causing short circuits.
3.8. Replace Aging Power Supplies
--- If the power supply is old or has degraded significantly, replace it with a new, high-quality model.
4. Preventative Measures
--- Choose a power supply with a capacity at least 20–30% higher than the expected load.
--- Regularly inspect and maintain wiring and connections.
--- Operate the power supply within its environmental and electrical specifications.
--- Use surge protectors to shield the power supply from voltage spikes.
5. Conclusion
If your DIN rail power supply is not providing the correct voltage, it could be due to issues with input power, load conditions, environmental factors, or internal component failure. By systematically diagnosing and addressing these factors, you can restore proper operation or identify when replacement is necessary. Regular maintenance and ensuring the power supply is used within its design parameters can prevent future voltage issues.